Turning a long video into shorts with a local AI pipeline
Paste a link, get vertical clips with captions, titles and tags. Here is how a local, low-cost shorts pipeline works step by step - transcription with Whisper, picking the best moments, face-tracked 9:16 crops and burned-in captions.
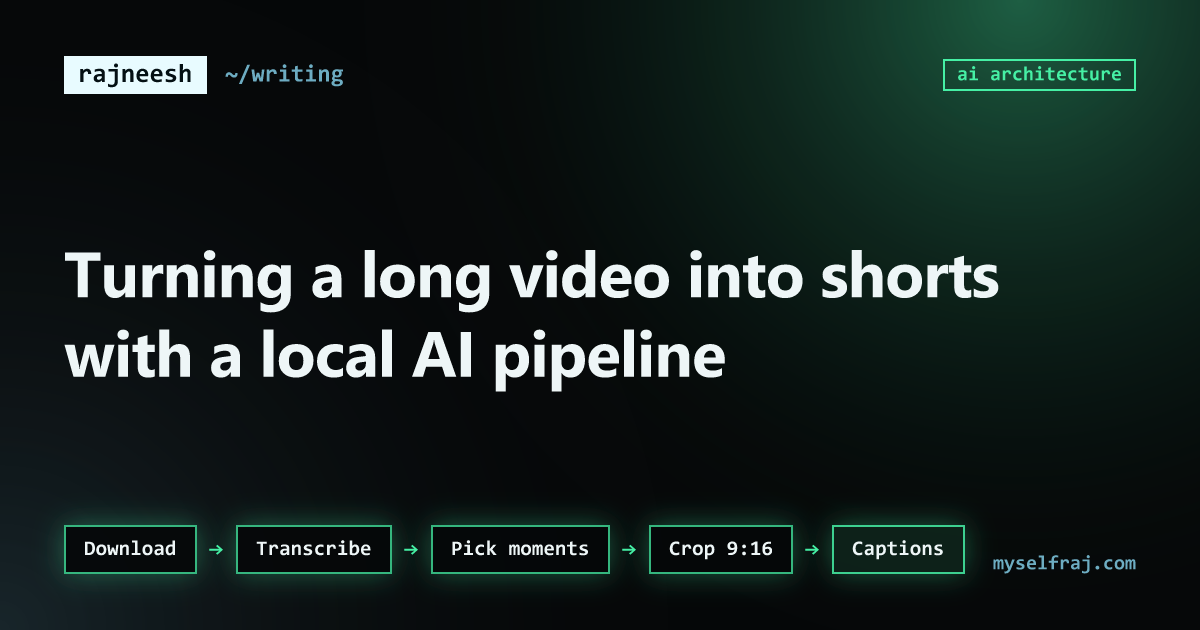
Short vertical videos get the reach. But cutting a 40-minute podcast into good 30-second clips by hand takes hours. You have to watch everything, find the best moments, crop to vertical, keep the speaker in frame, add captions, then write a title for each one.
Paid tools do this, but they charge per minute of video. So I built a pipeline that runs on my own machine. The only paid part is a few small model calls for picking moments and writing titles, and even those can run on a local model.
The whole pipeline
- Downloadyt-dlp
- Transcribefaster-whisper
- Pick momentsLLM + rules
- Crop 9:16face tracking
- Captionsburned in
- Titles + tagssmall model
It runs as a small FastAPI service in Docker, so it works the same on any machine.
Step 1: download
yt-dlp downloads the video from almost any site. I keep the best quality video and audio, because every later step loses a little quality.
yt-dlp -f "bv*+ba/b" --merge-output-format mp4 -o "input.mp4" "<video-url>"Step 2: transcribe with timestamps
faster-whisper is a re-implementation of OpenAI's Whisper speech model on a faster inference engine (CTranslate2). It runs well on a normal GPU, and even on a CPU for short videos.
The key setting is word-level timestamps. I do not just want the text. I want to know exactly when every word was said, because the captions and the cut points both depend on it.
from faster_whisper import WhisperModel

model = WhisperModel("small", compute_type="int8")
segments, _ = model.transcribe("input.mp4", word_timestamps=True)
words = [(w.start, w.end, w.word) for s in segments for w in s.words]Step 3: pick the strongest moments
This is the most interesting step. A good short has a hook in the first few seconds, makes one complete point, and ends cleanly.
I send the transcript, with timestamps, to a model and ask for the best 30 to 60 second segments, with a reason and a score for each. Then plain code cleans up its answer:
- Snap the start and end to sentence boundaries, so no clip starts mid-sentence.
- Drop segments that are too short or too long.
- Remove overlaps, keeping the higher score.
The model is good at judging what is interesting. Code is better at exact timing. Each does its own job.
Step 4: crop to vertical and follow the face
A YouTube video is 16:9. A short is 9:16. A fixed centre crop cuts people out of the frame all the time. So the crop follows the speaker's face.
- Sample framesa few per second
- Detect facesOpenCV
- Pick speakerbiggest, most central
- Smooth pathno jitter
- Crop window9:16 around it
The smoothing step matters most. Raw face positions jump around a little every frame. Without smoothing, the crop shakes and looks cheap. A moving average over about a second gives slow, natural camera movement.
Because the crop window moves, it cannot be one fixed FFmpeg crop. The frames are cropped in Python with OpenCV, following the smoothed path, and written out as a silent video. FFmpeg then puts the audio back and adds captions.
Step 5: burn in captions
Most people watch shorts with the sound off, so captions are not optional. Using the word timestamps from step 2, I create a subtitle file with two to four words per line. Its times start at zero, the start of the clip, not the start of the original video. Then FFmpeg burns the captions in and adds back the clip's audio:
# cropped.mp4 = the face-tracked 9:16 frames from OpenCV (no audio)
ffmpeg -i cropped.mp4 -ss 754.2 -to 801.9 -i input.mp4 \
  -map 0:v -map 1:a \
  -vf "scale=1080:1920,subtitles=clip.ass" \
  -c:v libx264 -crf 20 -c:a aac -shortest clip_01.mp4
The -ss and -to before the second -i cut the audio from the original video at exactly the clip's moments, so the sound lines up with the cropped frames.
Step 6: titles, tags and when to post
Last, a small model writes a title, a description and tags for each clip from its transcript. This is a perfect job for a cheap model: short input, short output, easy to check.
The pipeline also suggests a posting time and tracks each clip after it goes live, so I can see which kind of moment actually performs.
Why run it locally?
What I learned
- Word-level timestamps are the foundation of everything after transcription.
- Let the model choose what is interesting, and let code handle exact timing.
- Smooth the face tracking, or the crop will shake.
- Use the smallest model that does the job. Titles do not need a giant model.
The surprising part was how little of this is "AI". Download, crop, encode and caption are classic tools. The models handle two steps: understanding speech and judging what is worth watching. That mix is what keeps it fast and cheap.